Silver Inlay
What follows is a brief tutorial on installing a silver inlay with home made silver nails. The process for brass inlays is done in the same manner, but often does not require hand-made nails, as small finishing brads with swelled heads are readily available at hardware stores. If your inlay is not as tightly fit as you had hoped, fill any voids with a solid piece of wood and re-inlet prior to installing nails. Do not use glue and sawdust no matter what the label says, as it will stand out against your stained stock when finished.
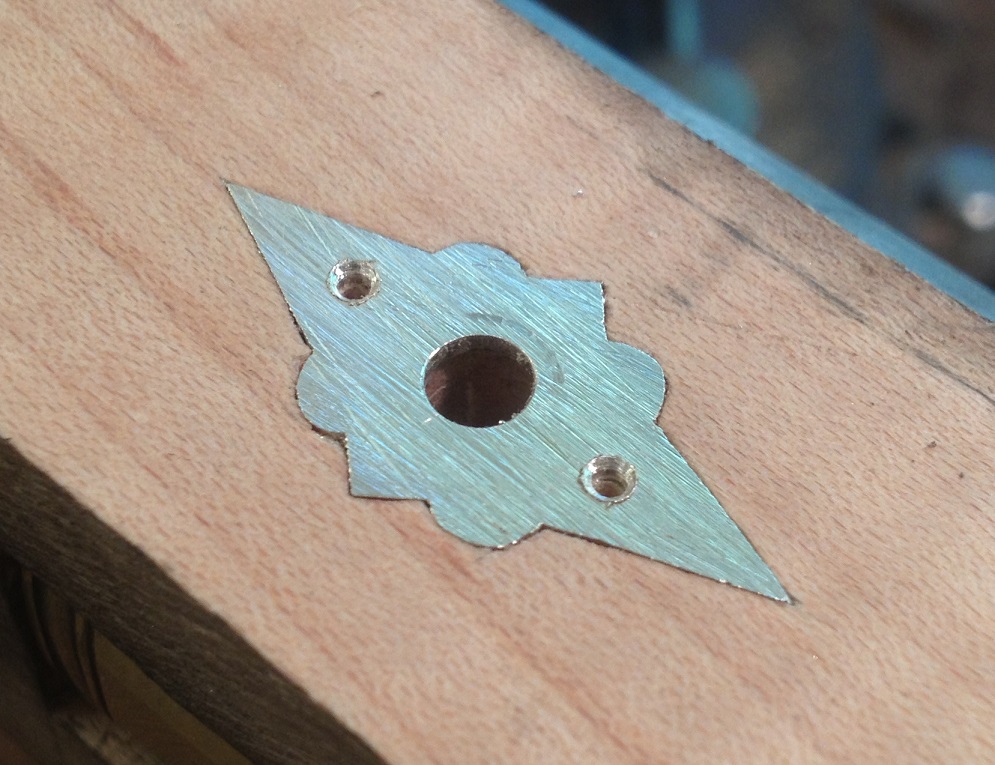
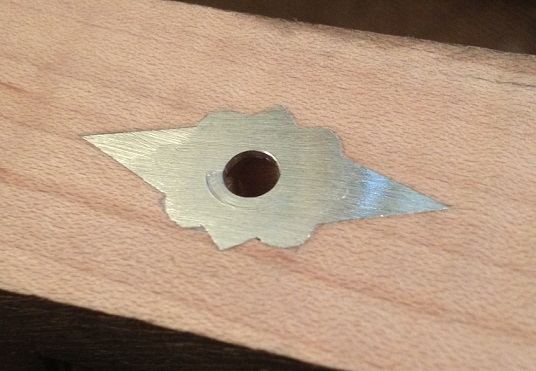
1: Once the inlay is installed flush with the wood, I drilled two .05" holes and lightly countersunk the opening. The next step involves making two nails to hold it in place.
|
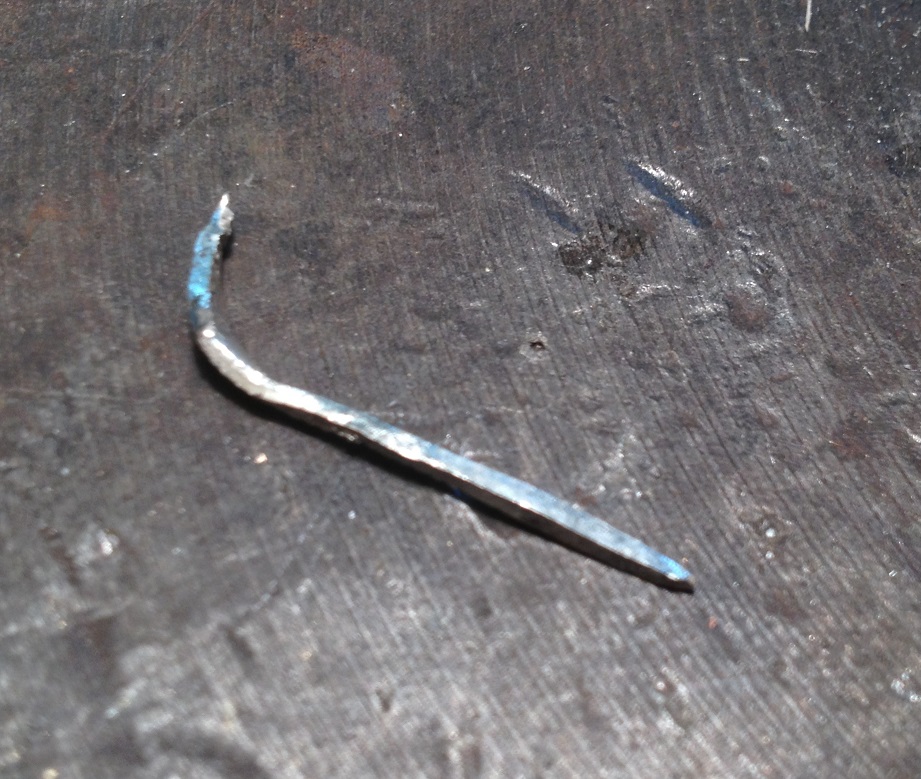
2: I keep all of my scrap silver when I make inlays, and have a small jar full of tiny pieces of silver. Using a metal shear I cut a thin strip and form it with a hammer into a nail approximately .05" thick.
|
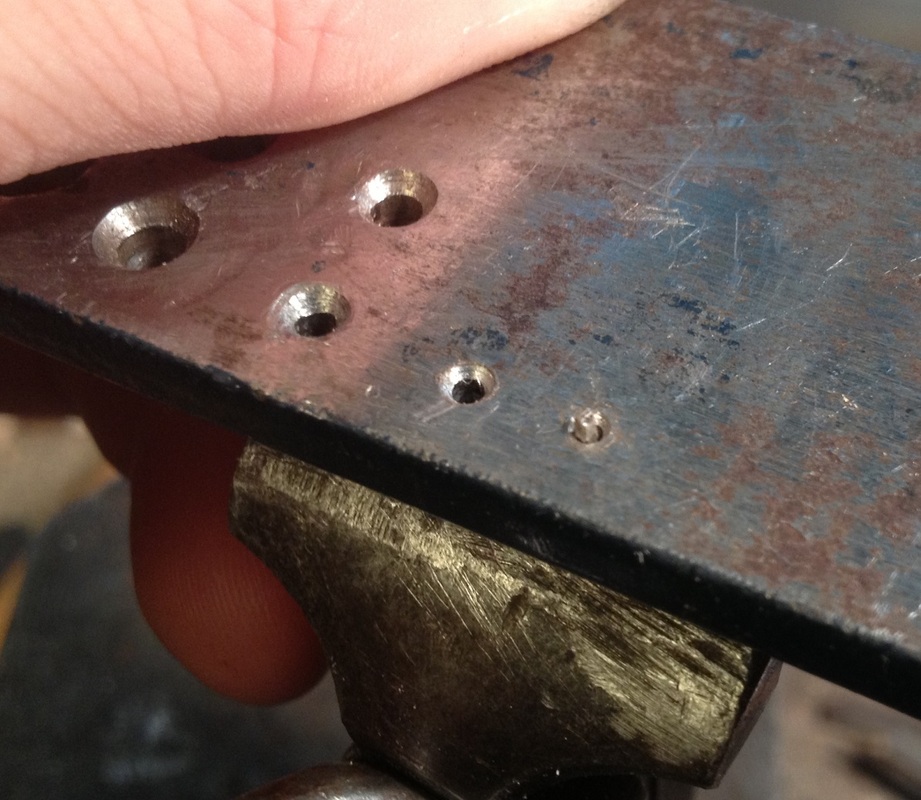
3: I use a 1/4" thick piece of steel for my rivet and nail forming block. It has different size holes drilled in it from .04 to 3/16", each drilled with a slight countersink. The nail is held from below with a hand vise with about .06 above the surface.
|

4: I use a small hobbyist ballpeen hammer to swage the metal into the countersink as evenly as possible. The thin wire will want to drift to one side and careful strokes with the hammer will even it out.
|
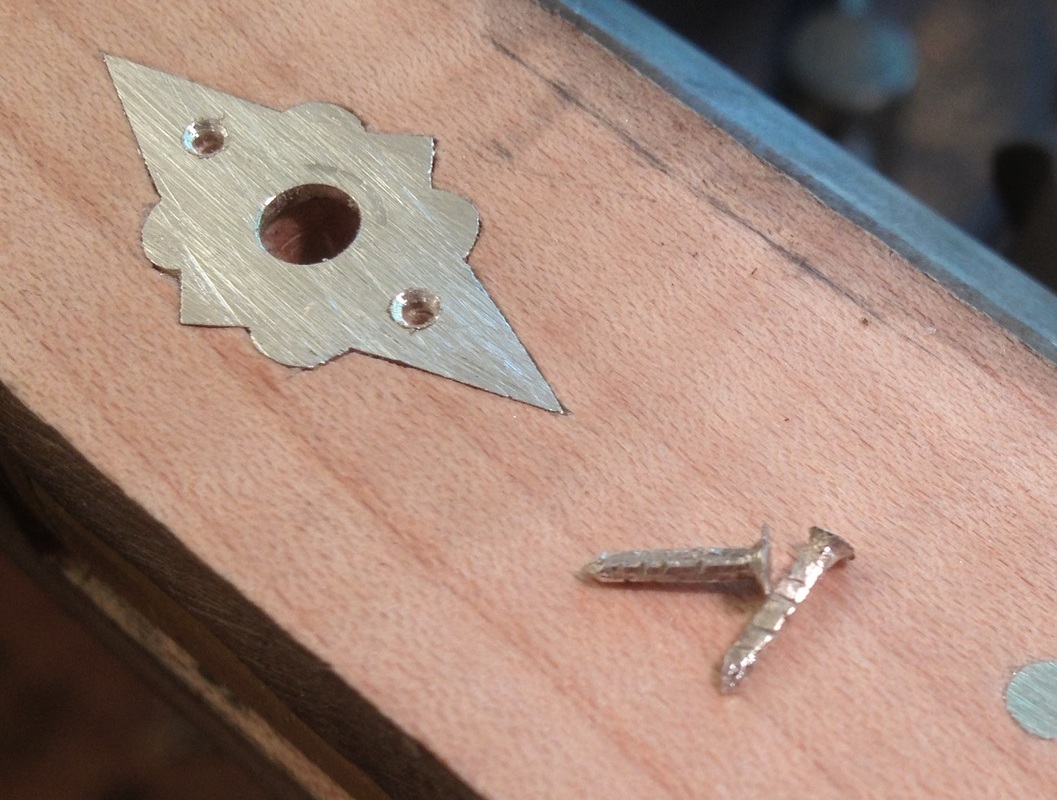
5: The nail is released from the vise and trimmed to about 3/8" long. I crimp it slightly with a cutting plyers to give it more grip in the stock.
|

6: Install the nails gently - if the inlay is supported properly from the wood beneath, then it should not deform at all. When the nail hits home, peen the head again lightly to fill possible gaps in the fit.
|
7: Finally, use a sharp file to remove the heads and bring everything flush. If done correctly, the nail heads should be invisible. Any hairline discrepancies in the fit between the inlay and wood will be remedied when the piece is finished. This is one of two sideplate inlays, and will be engraved prior to finishing. Inlays are one of the last pieces installed before final finishing, and great care should be taken after installation not to gouge the wood if subsequent scraping is done. If sanding, be sure to back your sand paper with a small piece of wood or the inlay will stand proud of the stock.